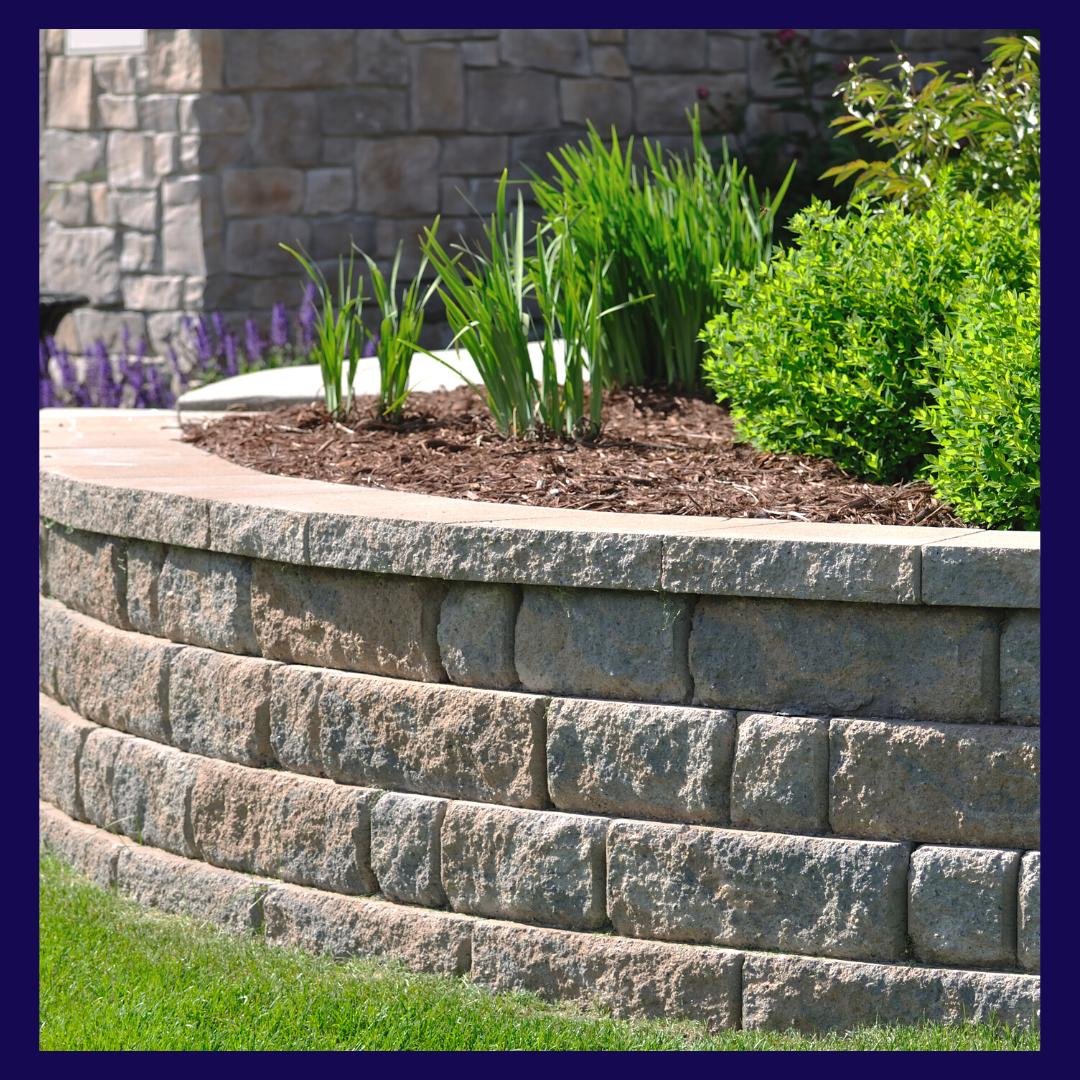
How to Build a Retaining Wall
Looking to give your garden a fresh new look? Or to strengthen up that annoying crumbling wall? Then it's time to get stuck into installing a retaining wall that will fix your woes and look amazing doing it.
Getting started
First things first we need to measure out the length and height of our retaining wall so we know how much timber to purchase. When we have the length for the sleepers we can work out how many posts we need, the distance between each post cannot exceed 2.4 metres. Once we have the measurements we need to decide on the sleepers and posts we want to go with, take your measurements and photos of the area into your local hardware supplier and they will be able to give you advice on what to use. We will need the following:
The timber (sleepers and posts with a minimum rating of H4)
Circular saw
Concrete
Drill
Ear muffs
Impact driver
Pencil
Safety glasses
Shovel
Spirit level
Square
String line
Tape measure
Backfiller (drainage aggregate or crushed rock)
Preparing and setting a string line
Before any holes are dug, wood cut or posts placed down we need to use our shovel to level out the ground running along our wall and the dirt wall the sleepers will be against. Once this is done run a string line between two posts at the beginning and end of where the wall will be making sure the string line is to the back of the retaining wall helping keep the posts inline and the wall straight.
Digging the holes for the posts
Next we will be digging the holes for our posts to go into, these holes need to be as deep as the wall will be high to ensure structural integrity. Dig these holes in front of the string line we set up because the posts will be on the outside of the retaining wall. Make sure the posts are measured and cut to size. When cutting, mark with your pencil and take your time and be careful. Use the square to ensure a straight cut.
Putting our timber down
We can now place the posts into our holes and then set the sleepers in behind them. Place a sleeper behind the first and last post and attach using your drill, then attach the other end to the next post. Repeat this process along the whole length of the bottom of your wall with the sleepers. Next we can do the second layer of sleepers the same way and so on till our retaining wall is the desired height. Using your square and pencil mark around the top of the posts so that they are flush with the top of your highest sleeper and cut around it with your saw.
Concreting the sleepers
There are a few different types of concrete that can be used to hold the posts in place but I recommend using pre blended bags of rapid set mix. These bags are made so that we only need to add water and the mix into the holes and mix it for a fast and easy set. This concrete mix is strong enough to hold out posts with no risk of breaking. Brace your posts in place while pouring the cement to ensure they are perfectly inline while you wait for the concrete to set.
Backfilling the wall once set
Once we have left the cement to dry for a few hours it's time to backfill the wall. The best few options are drainage aggregate or crushed rock. This comes down to personal preference on what you think looks nicer and matches your landscape. Using these will allow water to freely drain and not pool up behind your wall which could lead to compounding pressure resulting in shifting, bulging or total collapse.
Squarepegs Coffs Does it All
Getting in touch with Squarepegs Handyman has never been easier. The brand new Contact Us page on our website allows you to share the project you are hoping to have completed with great detail and photos!
Contact us here to learn more and to organise your free quote.
WHERE WE WORK
You’ll find Squarepegs Handyman in and around Chisholm, Maitland and NOW Coffs Harbour! Contact us to find out if we service your area.
We cannot wait to work with you!
More from Squarepegs Handyman


There are a number of reasons to choose artificial turf over real grass. Handyman Ryan explains the pros of fake grass and how to install it in this article.